Learn all about shapes with these fun and easy shape crafts for toddlers. Have fun creating and learning about circles, squares, and triangles.
Main Content
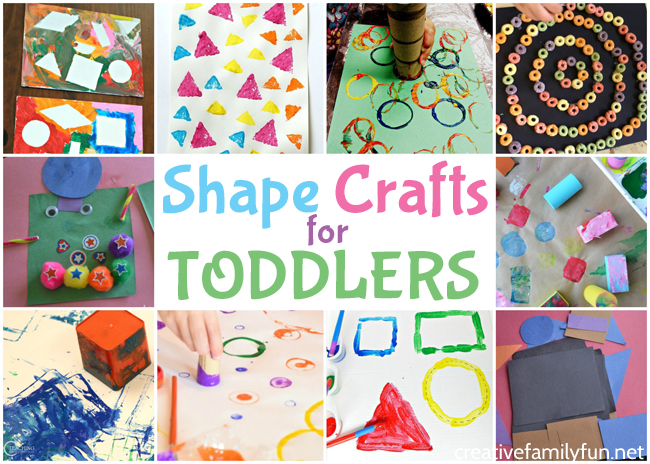
Simple and Fun Shape Crafts for Toddlers
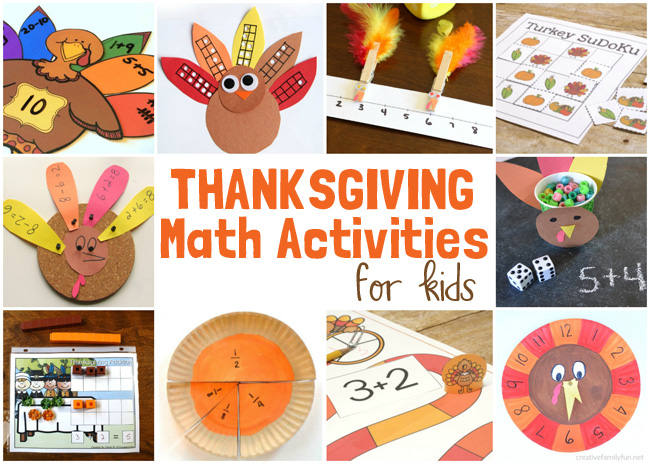
Thanksgiving Math Activities for Kids
Have some fun learning and practicing math with both printable math games and other hands-on Thanksgiving math activities for kids.
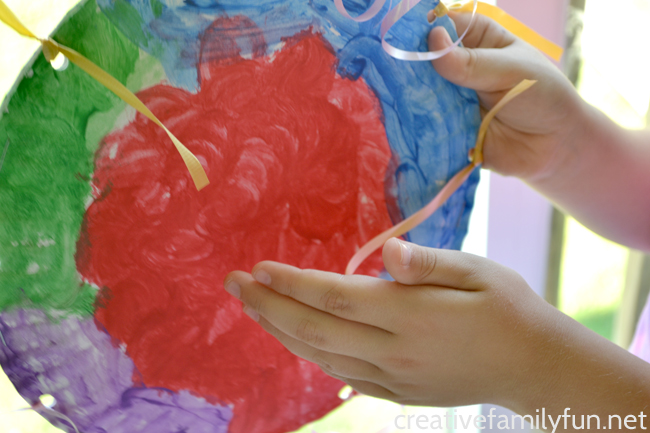
Paper Plate Tambourine Kids Craft
Make your own musical instrument with this fun classic kids craft, Paper Plate Tambourine. It’s fun for preschoolers to make and play with.
Christmas Activities
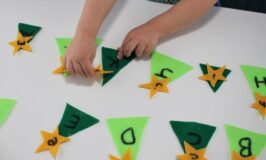
Christmas Tree Alphabet Matching Game for Toddlers
Practice your ABCs with this fun and simple Christmas tree alphabet matching game. This easy-to-make game is fun for toddlers and preschoolers.
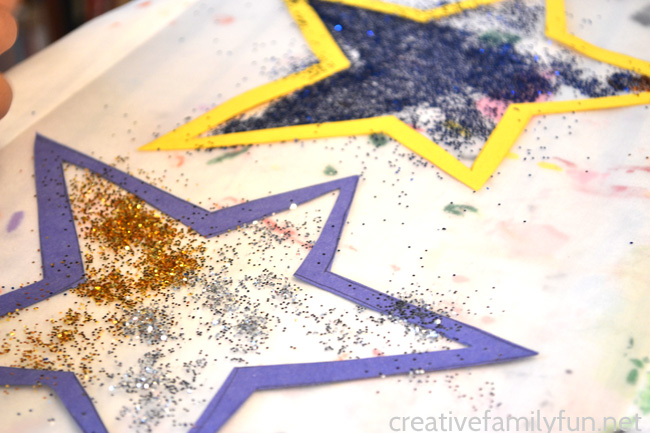
Stained Glass Star Suncatcher
Make a Stained Glass Star Suncatcher to decorate your windows for Christmas or any time of the year. This easy craft is perfect for kids of all ages.
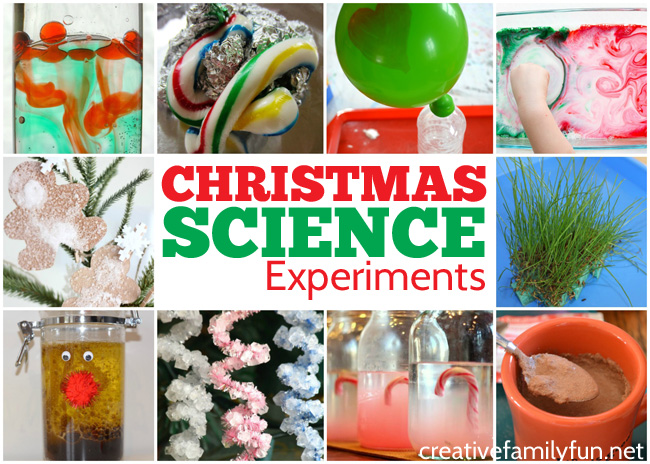
Christmas Science Experiments for Kids
Learn and have fun this holiday season with these fun Christmas science experiments for kids. Try new ideas or fun twists on classic experiments.
Family Fun
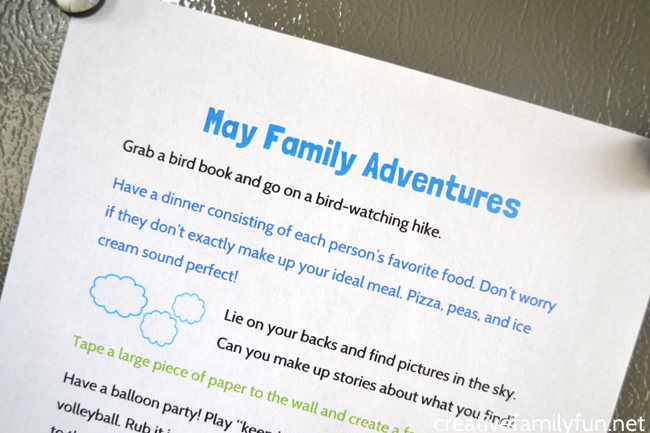
Spring Family Fun Ideas to Do in May
Enjoy some simple and fun quality time with your family this May with these Spring Family Fun Ideas. Print off the list and go have some fun together!
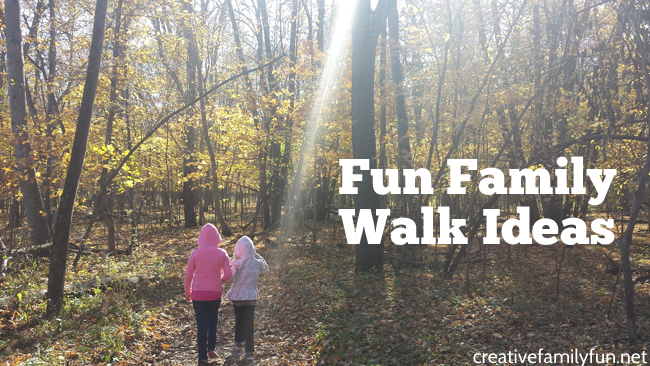
10 Fun Walk Ideas for Families
Walks are a great way to get exercise and have fun together. Here are 10 fun walk ideas for families that will get you outside with your kids.

Top Family Movies on Amazon Prime
What are you going to watch for your next family movie night? You don’t need to look any further than these top family movies on Amazon Prime.
Learning Activities
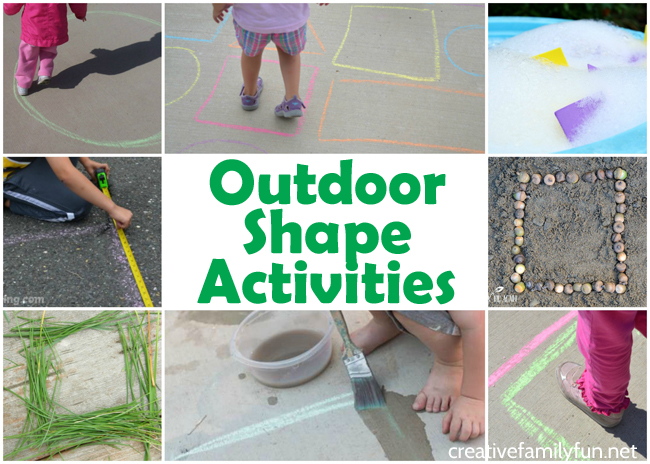
Outdoor Shape Activities for Kids
Toddlers and preschoolers will love learning outside with these simple and fun Outdoor Shape Activities for kids.
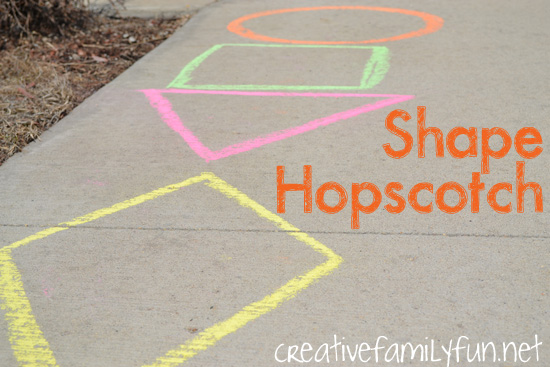
Shape Hopscotch Outdoor Game
Get moving and learning with this fun outdoor shape activity, shape hopscotch. It’s so much for for preschoolers and toddlers.
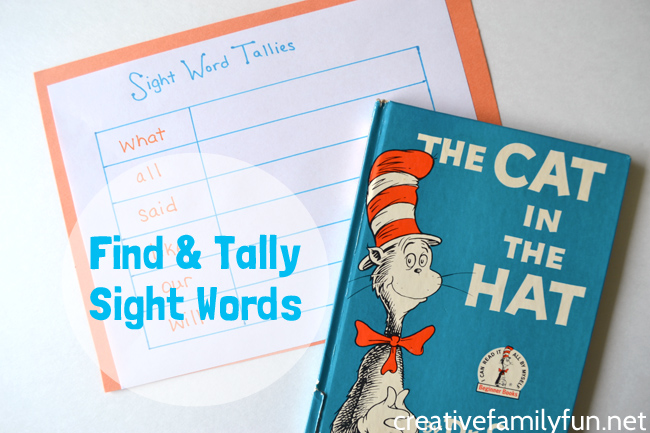
Find and Tally Sight Words Activity
Learn sight words with this fun reading game that adds a little math in with your reading practice with this Find and Tally Sight Words activity.
Crafts
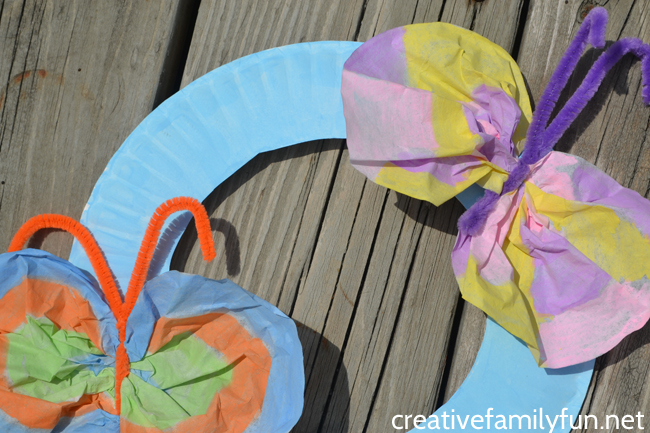
Butterfly Paper Plate Wreath Craft
Create a pretty butterfly paper plate wreath with simple supplies. This is perfect for a preschool springtime unit or letter B unit.
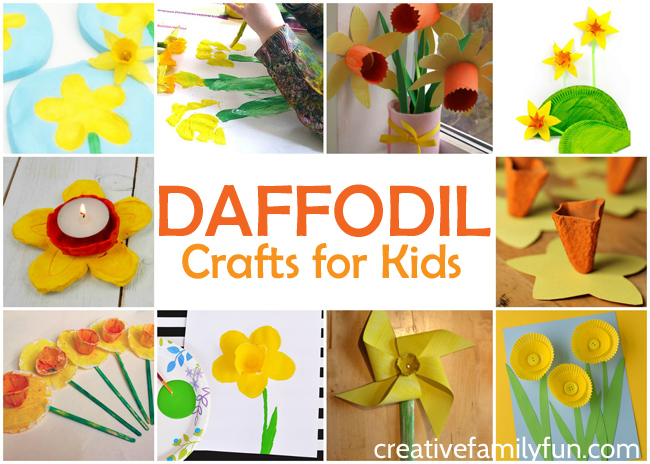
Beautiful Daffodil Crafts for Kids
I always feel so hopeful when I first see signs of spring flowers. Don’t you? It won’t be long until all those colorful spring flowers bloom. Even if you still have awhile before the flowers bloom, these daffodil crafts will brighten up your home. Daffodil crafts for kids You’ll find a wide variety of daffodil […]
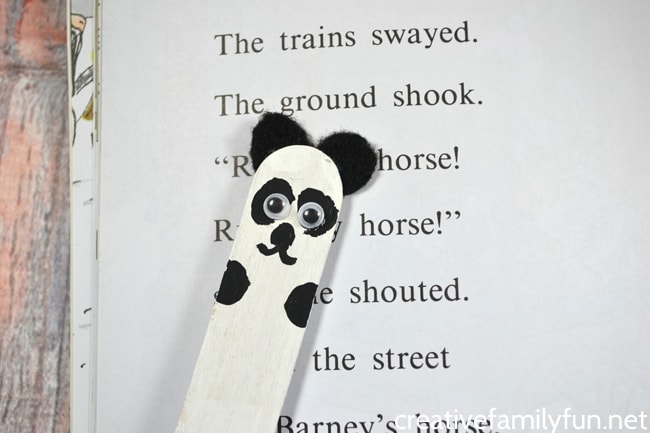
Panda Reading Pointer Craft
Use a craft stick to make this simple panda reading pointer for kids. It’s a fun tool for beginning readers and animal lovers!
Outdoor Fun
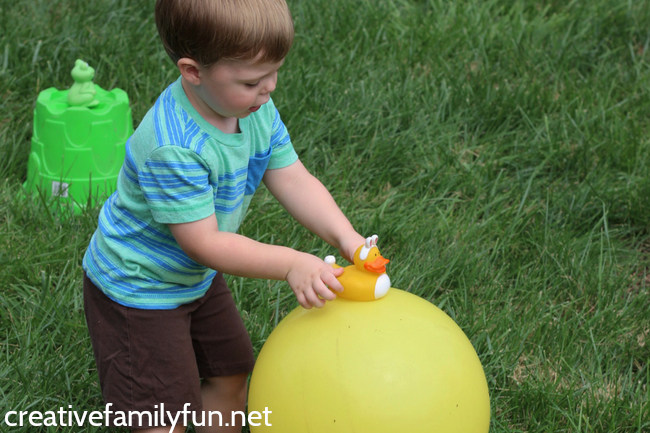
Backyard Color Match Game for Toddlers
Get your little ones moving with this fun Backyard Color Match Game for Toddlers. They’ll run, have fun, and learn a lot!

Sidewalk Chalk Spelling Words
Go outside to practice spelling words with this simple outdoor learning activity: sidewalk chalk spelling words. It’s easy and fun!

Autumn Scavenger Hunts for Kids
Enjoy the outdoors this fall with one of these fun Autumn Scavenger Hunts for kids. Your family will have so much fun exploring fall treasures.
STEAM Activities
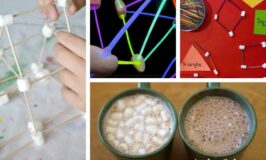
Marshmallow STEM Activities
Build, learn, and explore with these fun marshmallow STEM activities for kids.
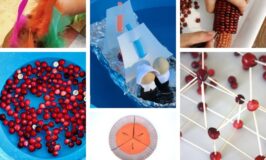
Thanksgiving STEM Projects for Kids
Learn and have fun with pumpkins, pie, cranberries, and more with this fun collection of Thanksgiving STEM activities for kids.
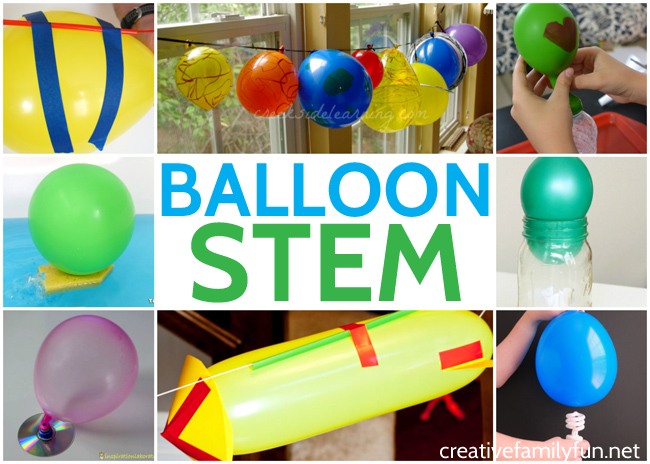
Balloon STEM Activities for Kids
Have fun learning with the simple Balloon STEM Activities. Your kids will learn so much and have a lot of fun while they’re at it.
Toddler Activities

Fun Weather Crafts for Toddlers
Your little ones will love making all of these great weather crafts for toddlers. You’ll find fun ideas for clouds, rain, sunshine, and snow.
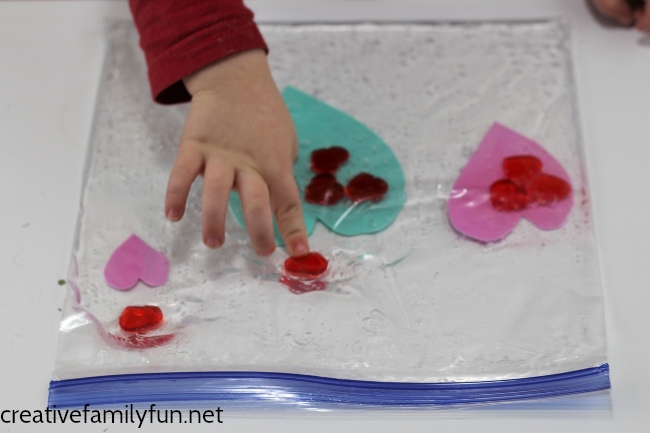
Valentine Sensory Bags for Toddlers
Have some Valentine’s Day fun with these simple Valentine sensory bags for toddlers. They’re easy to make and fun to play with!

Snowball Toss Alphabet Game for Toddlers
Your toddler or preschooler will have fun moving and learning their abc’s with this simple gross motor Snowball Toss Alphabet Game.
Spelling Activities
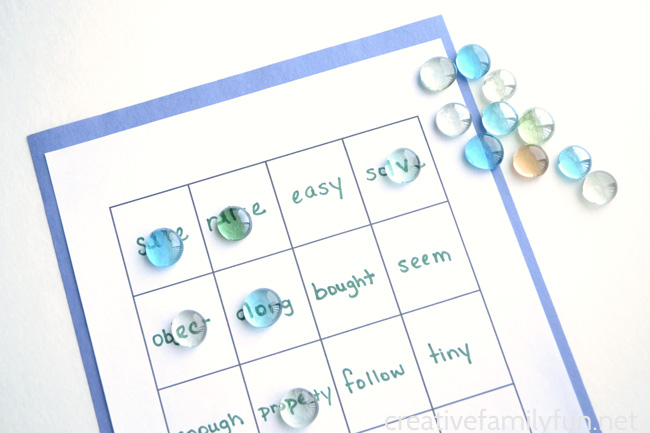
Spelling Word BINGO
Turn your spelling homework into a fun game when you use this printable template to make your own Spelling Word BINGO game.
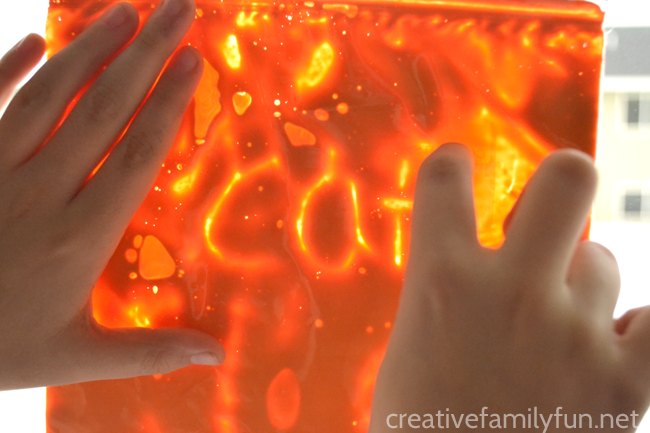
Write Spelling Words with Paint in a Bag
Put away the pencil and practice your spelling words with this fun sensory activity, Writing Spelling Words with Paint in a Bag.
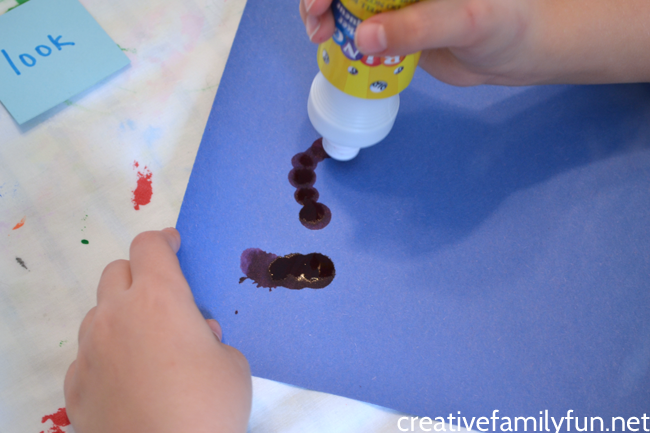
Dot Marker Spelling Words
Here’s a fun way to practice spelling words, use a fun tool to write your words with this idea, Dot Marker Spelling Words.